A workspace holds one brand: its accounts, content and members. You can create as many as you need, for your own brand or for someone else's. You become the owner and the payer of each one you create.
Create a workspace
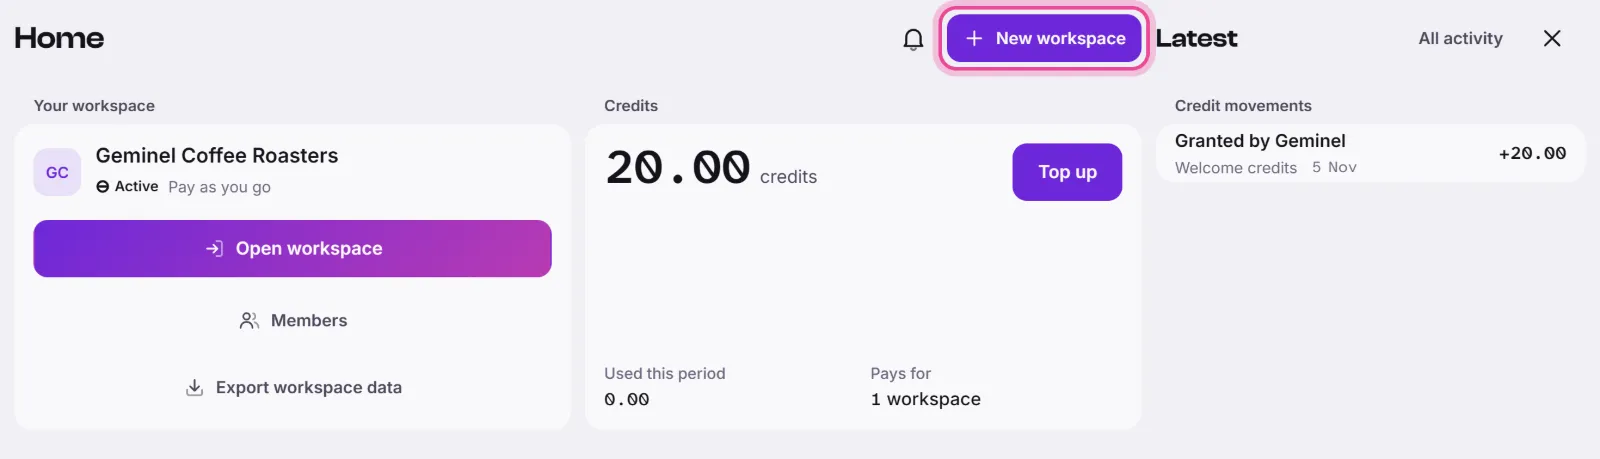
- In the console, open Home and press New workspace. You can also open the place list and press New workspace there. The app's place list has the same entry and takes you to the console.
- In New workspace, type the Name: the brand or business this workspace is for.
- Under Plan, choose how it is paid. Pay as you go means you pay for what you use. Basic and Pro have a monthly fee. Prices are on Pricing.
- Press Create workspace. With Pay as you go, the app opens in the new workspace.
If you chose Basic or Pro, the button reads Create and choose payment. You pay the first month by card, and the workspace opens once it is paid. Until then its card on Home is locked and shows Pay the first month and Continue on Pay as you go. Pressing the second one opens the workspace on Pay as you go instead.
Good to know
- Each workspace is separate. Its accounts, content and members belong to it alone.
- You own and pay for the workspace. To change that later, see Owner and payer. To add people, see Invite people to a workspace.
- A workspace on Pay as you go can't produce content until your credits cover it. A note in the sheet tells you when your balance is empty. See Credits.
- To move between your workspaces, see Switch between workspaces.
- You need a verified email address to create a workspace. If asked, use the link in the email we sent you. If you create several in a short time, wait a while before the next one.
- If Basic or Pro is not available to choose, ask us with Help and feedback.